员工管理系统
国际化
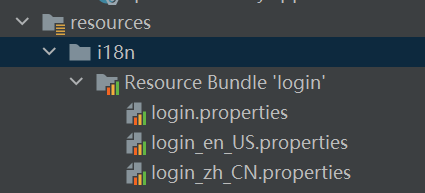
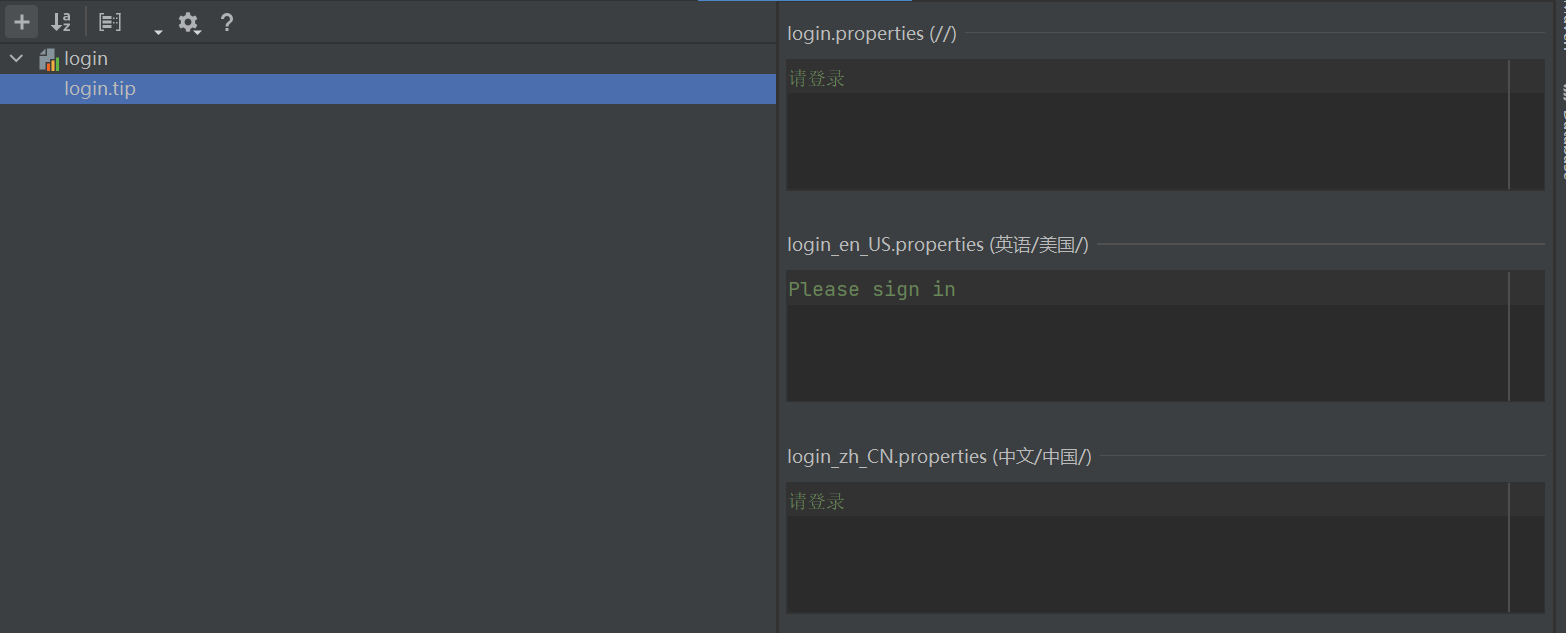
新建properties配置文件,创建第二个zh_CN文件是会自动生成Resource
Bundle文件夹,可通过右键文件夹快速生成配置文件
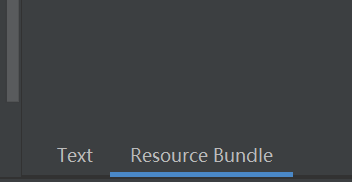
安装了Resource Bundle Editor插件后,可以点击左下角的Resource
Bundle进行可视化配置
就会出现这个页面
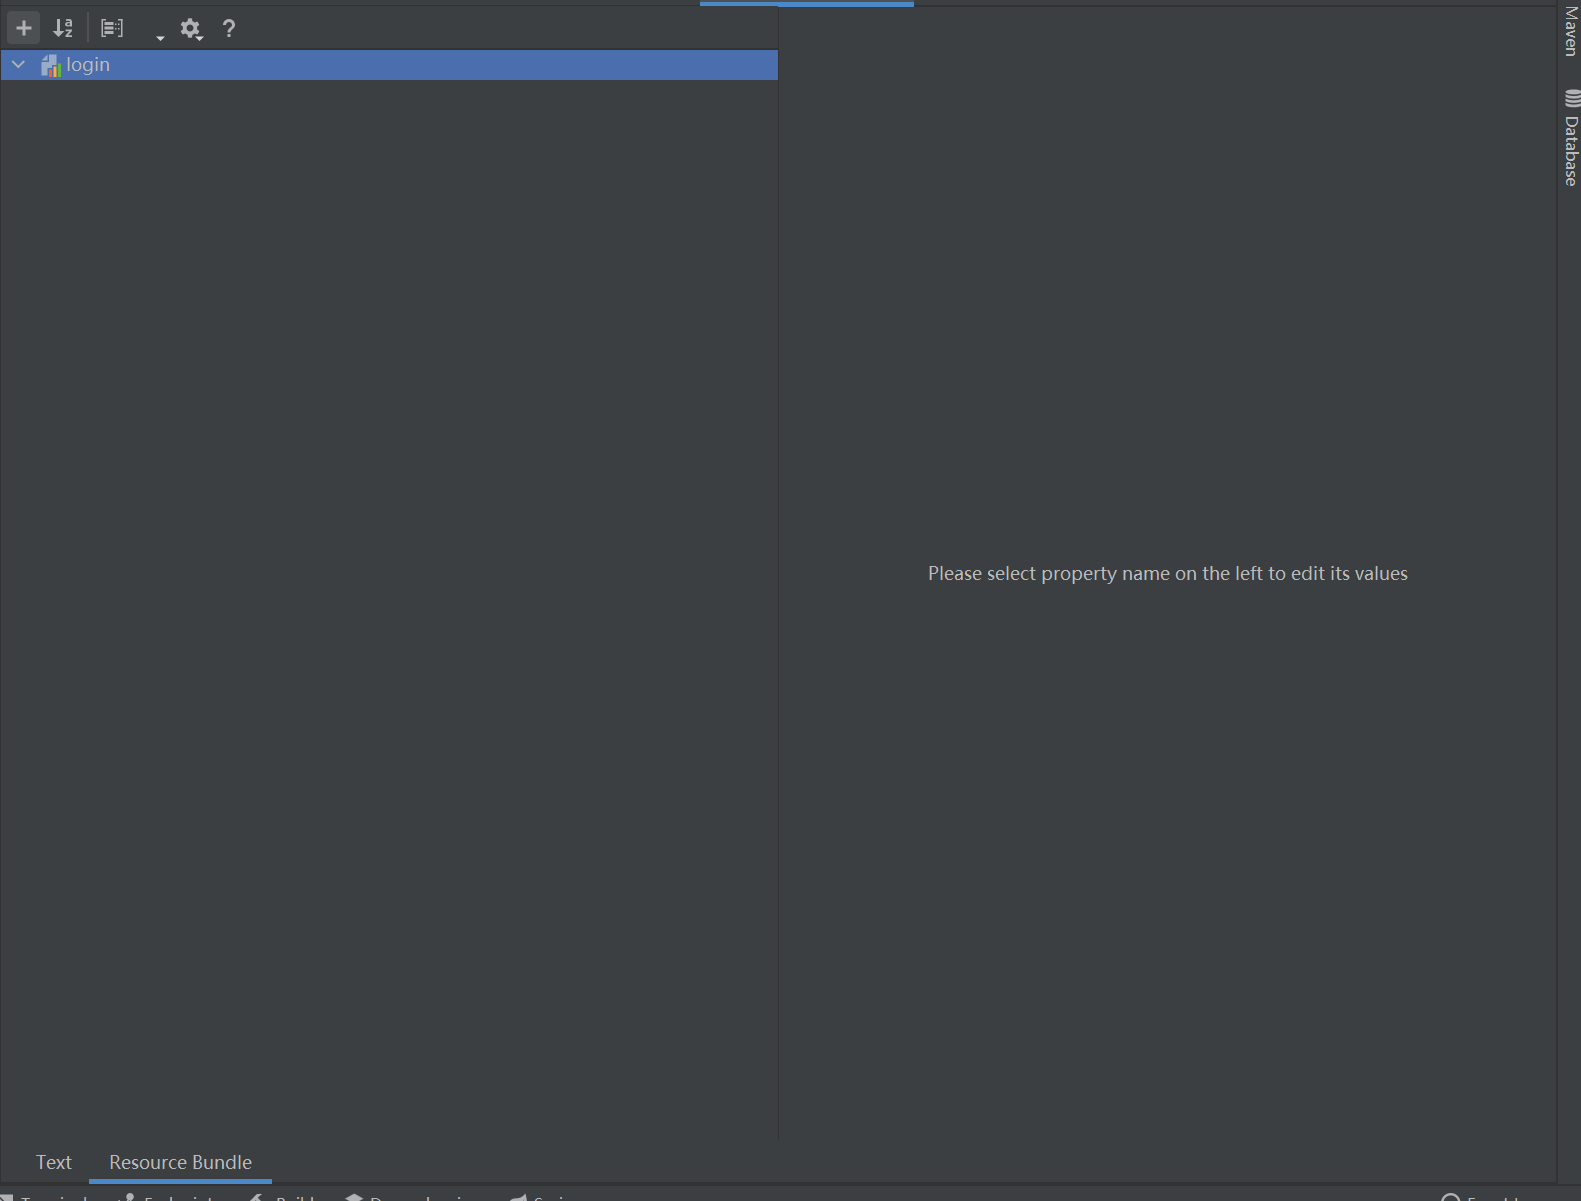
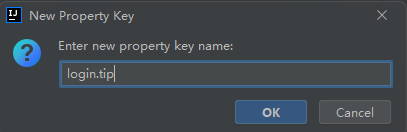
右键添加配置
可通过此方法进行可视化配置国际化
随后在application.properties中将配置文件导入
| # 国际化配置文件在这
spring.messages.basename=i18n.login
|
在html中将需要国际化的文字进行修改,通过#{xxxx}取得,如下图所示
| <input type="text" class="form-control" th:placeholder="#{login.username}" required="" autofocus="">
<input type="password" class="form-control" th:placeholder="#{login.password}" required="">
<input type="checkbox" value="remember-me">[[#{login.remember}]]
<button class="btn btn-lg btn-primary btn-block" type="submit" th:text="#{login.btn}">Sign in</button>
|
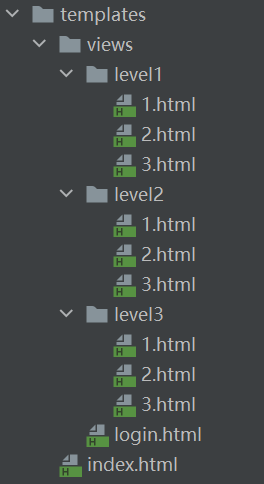
为了能够在页面中点击中文或者英文按钮进行页面的中英文切换,我们在html中发送请求,并且在config文件夹新建MyLocaleResolver类
| <a class="btn btn-sm" th:href="@{/index.html(l='zh_CN')}">中文</a>
<a class="btn btn-sm" th:href="@{/index.html(l='en_US')}">English</a>
|
1
2
3
4
5
6
7
8
9
10
11
12
13
14
15
16
17
18
19
20
21
22
23
24
25
26
| public class MyLocaleResolver implements LocaleResolver {
@Override
public Locale resolveLocale(HttpServletRequest httpServletRequest) {
String language = httpServletRequest.getParameter("l");
Locale locale = Locale.getDefault();
if (!StringUtils.isEmpty(language)) {
String[] split = language.split("_");
locale = new Locale(split[0], split[1]);
}
return locale;
}
@Override
public void setLocale(HttpServletRequest httpServletRequest, HttpServletResponse httpServletResponse, Locale locale) {
}
}
|
最后在视图解析器中注册Bean
| @Configuration
public class MyMVCConfig implements WebMvcConfigurer {
@Override
public void addViewControllers(ViewControllerRegistry registry) {
registry.addViewController("/").setViewName("index");
registry.addViewController("/index.html").setViewName("index");
}
@Bean
public LocaleResolver localeResolver() {
return new MyLocaleResolver();
}
}
|
登录功能实现
在html中进行表单请求
| <form class="form-signin" th:action="@{/user/login}">
|
后端新建LoginController类进行处理
| @Controller
public class LoginController {
@RequestMapping("/user/login")
public String login(@RequestParam("username") String username, @RequestParam("username") String password, Model model) {
if (!StringUtils.isEmpty(username) && "123123".equals(password)) {
return "dashboard";
}
else {
model.addAttribute("msg", "用户名或密码错误");
return "index";
}
}
}
|
在前端页面中显示登录错误的信息
|
<p style="color: red" th:text="${msg}" th:if="${not #strings.isEmpty(msg)}"></p>
|
为了使得更加规范,所以我们要使用重定向,使得网址页面不会显示过多信息
先在视图解析器中添加main.html页面跳转
|
@Override
public void addViewControllers(ViewControllerRegistry registry) {
registry.addViewController("/").setViewName("index");
registry.addViewController("/index.html").setViewName("index");
registry.addViewController("/main.html").setViewName("dashboard");
}
|
修改controller中的重定向
| if (!StringUtils.isEmpty(username) && "123123".equals(password)) {
return "redirect:/main.html";
}
|
使用了重定向后,我们不需要登录都可以通过输入网址进行访问,所以我们需要拦截器
登录拦截器
拦截器的思想是通过查看session中是否有登录的信息从而判断是否已经登录,所以我们先在LoginController中输入参数先加入HttpSession,在成功登录的时候添加session
addPathPatterns:该方法用于指定拦截路径,例如拦截路径为“/**”,表示拦截所有请求,包括对静态资源的请求。
excludePathPatterns:该方法用于排除拦截路径,即指定不需要被拦截器拦截的请求。
1
2
3
4
5
6
7
8
9
10
11
12
13
14
15
16
17
| @Controller
public class LoginController {
@RequestMapping("/user/login")
public String login(@RequestParam("username") String username, @RequestParam("password") String password, Model model, HttpSession session) {
if (!StringUtils.isEmpty(username) && "123123".equals(password)) {
session.setAttribute("loginUser", username);
return "redirect:/main.html";
}
else {
model.addAttribute("msg", "用户名或密码错误");
return "index";
}
}
}
|
随后在Config文件夹中添加LoginHandlerInterceptor拦截器类,返回true代表可以访问,返回false代表不能访问
1
2
3
4
5
6
7
8
9
10
11
12
13
14
15
16
17
| public class LoginHandlerInterceptor implements HandlerInterceptor {
@Override
public boolean preHandle(HttpServletRequest request, HttpServletResponse response, Object handler) throws Exception {
Object loginUser = request.getSession().getAttribute("loginUser");
if (loginUser == null) {
request.setAttribute("msg", "没有权限,请先登录");
request.getRequestDispatcher("/index.html").forward(request, response);
return false;
}
else {
return true;
}
}
}
|
最后在视图解析器中添加拦截器,其中excludePathPatterns中的参数代表不需要过滤的资源,例如登录页面和静态资源
| @Override
public void addInterceptors(InterceptorRegistry registry) {
registry.addInterceptor(new LoginHandlerInterceptor()).addPathPatterns("/**").excludePathPatterns("/index.html", "/", "/user/login", "/static/**");
}
}
|
展示员工列表
| @Controller
public class EmploeeController {
@Autowired
EmployeeDao employeeDao;
@RequestMapping("/emps")
public String list(Model model) {
Collection<Employee> employees = employeeDao.getAll();
model.addAttribute("emps", employees);
return "emp/list";
}
}
|
1
2
3
4
5
6
7
8
9
10
11
12
13
14
15
16
17
18
19
20
21
22
23
24
25
26
27
28
29
30
31
32
| <main role="main" class="col-md-9 ml-sm-auto col-lg-10 pt-3 px-4">
<h2><a class="btn btn-sm btn-success" th:href="@{/emp}">添加员工</a></h2>
<div class="table-responsive">
<table class="table table-striped table-sm">
<thead>
<tr>
<th>id</th>
<th>lastName</th>
<th>email</th>
<th>gender</th>
<th>department</th>
<th>birth</th>
<th>操作</th>
</tr>
</thead>
<tbody>
<tr th:each="emp:${emps}">
<td th:text="${emp.getId()}"></td>
<td th:text="${emp.getLastName()}"></td>
<td th:text="${emp.getEmail()}"></td>
<td th:text="${emp.getGender()==0?'女':'男'}"></td>
<td th:text="${emp.getDepartment().getDepartmentName()}"></td>
<td th:text="${#dates.format(emp.getBirth(), 'yyyy-MM-dd HH:mm:ss')}"></td>
<td>
<button class="btn btn-sm btn-primary">编辑</button>
<button class="btn btn-sm btn-danger">删除</button>
</td>
</tr>
</tbody>
</table>
</div>
</main>
|
增加员工
| @PostMapping("/emp")
public String addEmp(Employee employee) {
employeeDao.save(employee);
return "redirect:/emps";
}
|
1
2
3
4
5
6
7
8
9
10
11
12
13
14
15
16
17
18
19
20
21
22
23
24
25
26
27
28
29
30
31
32
| <form th:action="@{/emp}" method="post">
<div class="form-group">
<label>LastName</label>
<input type="text" name="lastName" class="form-control" placeholder="海绵宝宝">
</div>
<div class="form-group">
<label>Email</label>
<input type="email" name="email" class="form-control" placeholder="1176244270@qq.com">
</div>
<div class="form-group">
<label>Gender</label><br>
<div class="form-check form-check-inline">
<input class="form-check-input" type="radio" name="gender" value="1">
<label class="form-check-label">男</label>
</div>
<div class="form-check form-check-inline">
<input class="form-check-input" type="radio" name="gender" value="0">
<label class="form-check-label">女</label>
</div>
</div>
<div class="form-group">
<label>department</label>
<select class="form-control" name="department.id">
<option th:each="dept:${departments}" th:text="${dept.getDepartmentName()}" th:value="${dept.getId()}"></option>
</select>
</div>
<div class="form-group">
<label>Birth</label>
<input type="text" name="birth" class="form-control" placeholder="嘤嘤嘤">
</div>
<button type="submit" class="btn btn-primary">添加</button>
</form>
|
修改员工
1
2
3
4
5
6
7
8
9
10
11
12
13
14
15
16
17
18
|
@GetMapping("/emp/{id}")
public String toUpdateEmp(@PathVariable("id")Integer id, Model model) {
Employee employee = employeeDao.getEmployById(id);
model.addAttribute("emp", employee);
Collection<Department> departments = departmentDao.getDepartments();
model.addAttribute("departments", departments);
return "emp/update";
}
@PostMapping("/updateEmp")
public String updateEmp(Employee employee) {
employeeDao.save(employee);
return "redirect:/emps";
}
|
| <a class="btn btn-sm btn-primary" th:href="@{/emp/{id}(id=${emp.getId()})}">编辑</a>
|
1
2
3
4
5
6
7
8
9
10
11
12
13
14
15
16
17
18
19
20
21
22
23
24
25
26
27
28
29
30
31
32
33
| <form th:action="@{/updateEmp}" method="post">
<input type="hidden" name="id" th:value="${emp.getId()}">
<div class="form-group">
<label>LastName</label>
<input th:value="${emp.getLastName()}" type="text" name="lastName" class="form-control" placeholder="海绵宝宝">
</div>
<div class="form-group">
<label>Email</label>
<input th:value="${emp.getEmail()}" type="email" name="email" class="form-control" placeholder="1176244270@qq.com">
</div>
<div class="form-group">
<label>Gender</label><br>
<div class="form-check form-check-inline">
<input th:checked="${emp.getGender()==1}" class="form-check-input" type="radio" name="gender" value="1">
<label class="form-check-label">男</label>
</div>
<div class="form-check form-check-inline">
<input th:checked="${emp.getGender()==0}" class="form-check-input" type="radio" name="gender" value="0">
<label class="form-check-label">女</label>
</div>
</div>
<div class="form-group">
<label>department</label>
<select class="form-control" name="department.id">
<option th:selected="${dept.getId() == emp.getDepartment().getId()}" th:each="dept:${departments}" th:text="${dept.getDepartmentName()}" th:value="${dept.getId()}"></option>
</select>
</div>
<div class="form-group">
<label>Birth</label>
<input th:value="${#dates.format(emp.getBirth(), 'yyyy-MM-dd HH:mm')}" type="text" name="birth" class="form-control" placeholder="嘤嘤嘤">
</div>
<button type="submit" class="btn btn-primary">修改</button>
</form>
|
删除员工
|
@GetMapping("/deleteEmp/{id}")
public String deleteEmp(@PathVariable("id") int id) {
employeeDao.delete(id);
return "redirect:/emps";
}
|
| <a class="btn btn-sm btn-danger" th:href="@{/deleteEmp/{id}(id=${emp.getId()})}">删除</a>
|
404
SpringBoot只用在templates中新建一个error文件夹,在error中放置我们自定义的404.html即可
注销
| @RequestMapping("/user/logout")
public String logout(HttpSession session) {
session.invalidate();
return "redirect:/index.html";
}
|
| <a class="nav-link" th:href="@{/user/logout}">退出</a>
|
Spring Data
整合JDBC
新建项目时需要勾选上关系型数据库中的JDBC API以及MYSQL Driver
首先新建一个application.yml文件,在文件中输入
| spring:
datasource:
username: root
password: 123123
url: jdbc:mysql://localhost:3306/mybatis?serverTimezone=UTC&useUnicode=true&characterEncoding=utf-8
driver-class-name: com.mysql.cj.jdbc.Driver
|
编写一个Controller来测试一下jdbc的使用
1
2
3
4
5
6
7
8
9
10
11
12
13
14
15
16
17
18
19
20
21
22
23
24
25
26
27
28
29
30
31
32
33
34
35
36
37
| @RestController
public class JDBCController {
@Autowired
JdbcTemplate jdbcTemplate;
@GetMapping("/userList")
public List<Map<String, Object>> userList() {
String sql = "select * from user";
List<Map<String, Object>> list_maps = jdbcTemplate.queryForList(sql);
return list_maps;
}
@GetMapping("/addList")
public String addUser() {
String sql = "insert into mybatis.user values (4, '小明', '123123')";
jdbcTemplate.update(sql);
return "add-ok";
}
@GetMapping("/updateList/{id}")
public String updateUser(@PathVariable("id") int id) {
String sql = "update mybatis.user set name=?, pwd=? where id =" + id;
Object[] objects = new Object[2];
objects[0] = "小明2";
objects[1] = "asdfasdf";
jdbcTemplate.update(sql, objects);
return "update-ok";
}
@GetMapping("/deleteList/{id}")
public String deleteUser(@PathVariable("id") int id) {
String sql = "delete from mybatis.user where id=?" ;
jdbcTemplate.update(sql, id);
return "delete-ok";
}
}
|
整合Druid数据源
添加依赖
| <dependency>
<groupId>com.alibaba</groupId>
<artifactId>druid</artifactId>
<version>1.2.11</version>
</dependency>
|
在application.yml中进行Druid配置
1
2
3
4
5
6
7
8
9
10
11
12
13
14
15
16
17
18
19
20
21
22
23
24
25
26
27
28
29
| spring:
datasource:
username: root
password: 123123
url: jdbc:mysql://localhost:3306/mybatis?serverTimezone=UTC&useUnicode=true&characterEncoding=utf-8
driver-class-name: com.mysql.cj.jdbc.Driver
type: com.alibaba.druid.pool.DruidDataSource
initialSize: 5
minIdle: 5
maxActive: 20
maxWait: 60000
timeBetweenEvictionRunsMillis: 60000
minEvictableIdleTimeMillis: 300000
validationQuery: SELECT 1 FROM DUAL
testWhileIdle: true
testOnBorrow: false
testOnReturn: false
poolPreparedStatements: true
filters: stat,wall,log4j
maxPoolPreparedStatementPerConnectionSize: 20
useGlobalDataSourceStat: true
connectionoProperties: druid.stat.mergeSql=true;druid.stat.slowSqlMillis=500
|
我们新建config文件夹,新建一个DruidConfig类进行自定义配置
1
2
3
4
5
6
7
8
9
10
11
12
13
14
15
16
17
18
19
20
21
22
23
24
25
| @Configuration
public class DruidConfig {
@ConfigurationProperties(prefix = "spring.datasource")
@Bean
public DataSource druidDataSource() {
return new DruidDataSource();
}
@Bean
public ServletRegistrationBean statViewServlet() {
ServletRegistrationBean<StatViewServlet> bean= new ServletRegistrationBean<>(new StatViewServlet(), "/druid/*");
HashMap<String, String> initParameters = new HashMap<>();
initParameters.put("loinUsername", "admin");
initParameters.put("loginPassword", "123123");
initParameters.put("allow", "");
bean.setInitParameters(initParameters);
return bean;
}
|
在网页中输入localhost:8080/druid即可进入后台监控,可以在监控中查看各种sql,Session等。
整合MyBatis
导入与SpringBoot整合的依赖
| <dependency>
<groupId>org.mybatis.spring.boot</groupId>
<artifactId>mybatis-spring-boot-starter</artifactId>
<version>2.2.2</version>
</dependency>
|
新建一个pojo
| @Data
@NoArgsConstructor
@AllArgsConstructor
public class User {
private int id;
private String name;
private String pwd;
}
|
新建一个Mapper接口
|
@Mapper
@Repository
public interface UserMapper {
List<User> queryUserList();
User queryUserById(int id);
int addUser(User user);
int updateUser(User user);
int deleteUser(int id);
}
|
对于Mapper接口的实现需要在resources文件夹中进行实现,新建文件目录为
1
2
3
4
5
6
7
8
9
10
11
12
13
14
15
16
17
18
19
20
21
22
23
24
25
| <?xml version="1.0" encoding="UTF-8" ?>
<!DOCTYPE mapper
PUBLIC "-//mybatis.org//dtd Mapper 3.0//EN"
"http://mybatis.org/dtd/mybatis-3-mapper.dtd">
<mapper namespace="com.zhou.mapper.UserMapper">
<select id="queryUserList" resultType="User">
select * from user;
</select>
<select id="queryUserById" resultType="User">
select * from user where id = #{id};
</select>
<insert id="addUser" parameterType="User">
insert into mybatis.user(id, name, pwd) VALUES (#{id},#{name},#{pwd});
</insert>
<update id="updateUser" parameterType="User">
update user set name = #{name},pwd=#{pwd} where id = #{id};
</update>
<delete id="deleteUserById" parameterType="int">
delete from user where id = #{id};
</delete>
</mapper>
|
为了使得包能够被扫描到,需要在application中进行配置
|
mybatis.type-aliases-package=com.zhou.pojo
mybatis.mapper-locations=classpath:mybatis/mapper/*.xml
|
为了学习,省略了service层,直接从Controller层调用Mapper
1
2
3
4
5
6
7
8
9
10
11
12
13
14
15
16
17
18
19
20
21
22
23
24
25
26
27
28
29
30
| @RestController
public class UserController {
@Autowired
private UserMapper userMapper;
@GetMapping("/queryUserList")
public List<User> queryUserList() {
List<User> users = userMapper.queryUserList();
return users;
}
@GetMapping("/addUser")
public String addUser() {
userMapper.addUser(new User(4, "肘子开", "123123"));
return "add_finished";
}
@GetMapping("/updateUser")
public String updateUser() {
userMapper.updateUser(new User(4, "肘子开2", "12351234"));
return "update_finished";
}
@GetMapping("/deleteUser")
public String deleteUser() {
userMapper.deleteUser(4);
return "delete_finished";
}
}
|
SpringSecurity
shiro和SpringSecurity很像,除了类不一样,名字不一样
用户认证和授权
导入模板
先对页面访问进行编写controller进行跳转
1
2
3
4
5
6
7
8
9
10
11
12
13
14
15
16
17
18
19
20
21
22
23
24
25
26
27
28
| @Controller
public class RouterController {
@RequestMapping({"/","/index"})
public String index() {
return "index";
}
@RequestMapping("/toLogin")
public String toLogin() {
return "views/login";
}
@RequestMapping("/level1/{id}")
public String level1(@PathVariable("id") int id) {
return "views/level1/" + id;
}
@RequestMapping("/level2/{id}")
public String level2(@PathVariable("id") int id) {
return "views/level2/" + id;
}
@RequestMapping("/level3/{id}")
public String level3(@PathVariable("id") int id) {
return "views/level3/" + id;
}
}
|
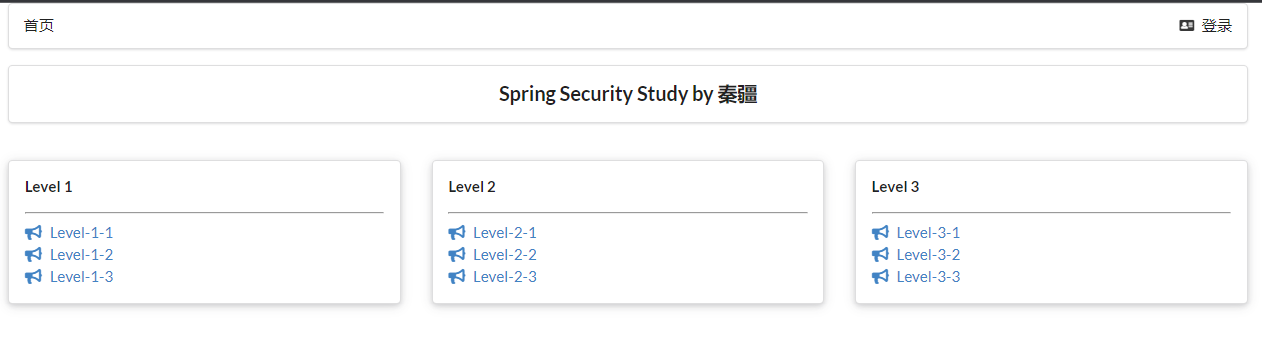
访问主页为
导入依赖
| <dependency>
<groupId>org.springframework.boot</groupId>
<artifactId>spring-boot-starter-security</artifactId>
</dependency>
|
现在我们要实现不同权限的人访问不同的功能页面,例如只有vip1权限的用户才能访问level1下的页面,这时候需要新建一个配置类进行配置
1
2
3
4
5
6
7
8
9
10
11
12
13
14
15
16
17
18
19
20
21
22
23
24
25
26
27
28
29
30
31
32
33
| @EnableWebSecurity
public class SecurityConfig extends WebSecurityConfigurerAdapter {
@Override
protected void configure(HttpSecurity http) throws Exception {
http.authorizeRequests()
.antMatchers("/").permitAll()
.antMatchers("/level1/**").hasRole("vip1")
.antMatchers("/level2/**").hasRole("vip2")
.antMatchers("/level3/**").hasRole("vip3");
http.formLogin();
}
@Override
protected void configure(AuthenticationManagerBuilder auth) throws Exception {
auth.inMemoryAuthentication().passwordEncoder(new BCryptPasswordEncoder())
.withUser("zhouzikai").password(new BCryptPasswordEncoder().encode("123123")).roles("vip2", "vip3")
.and()
.withUser("root").password(new BCryptPasswordEncoder().encode("123123")).roles("vip1", "vip2", "vip3")
.and()
.withUser("guest").password(new BCryptPasswordEncoder().encode("123123")).roles("vip1");
}
}
|
注销及权限控制
1
2
3
4
5
6
7
8
9
10
11
12
13
14
15
16
17
|
@Override
protected void configure(HttpSecurity http) throws Exception {
http.authorizeRequests()
.antMatchers("/").permitAll()
.antMatchers("/level1/**").hasRole("vip1")
.antMatchers("/level2/**").hasRole("vip2")
.antMatchers("/level3/**").hasRole("vip3");
http.formLogin();
http.logout().logoutSuccessUrl("/");
}
|
记住我及首页定制
|
http.formLogin().loginPage("/toLogin");
|
Swagger
集成swagger
导入依赖
|
<dependency>
<groupId>io.springfox</groupId>
<artifactId>springfox-swagger2</artifactId>
<version>2.9.2</version>
</dependency>
<dependency>
<groupId>io.springfox</groupId>
<artifactId>springfox-swagger-ui</artifactId>
<version>2.9.2</version>
</dependency>
|
编写hello的Controller
| @RestController
public class HelloController {
@RequestMapping(value = "/hello")
public String hello() {
return "hello";
}
}
|
配置Swagger
- 新建config.SwaggerConfig.java
| @Configuration
@EnableSwagger2
public class SwaggerConfig {
}
|
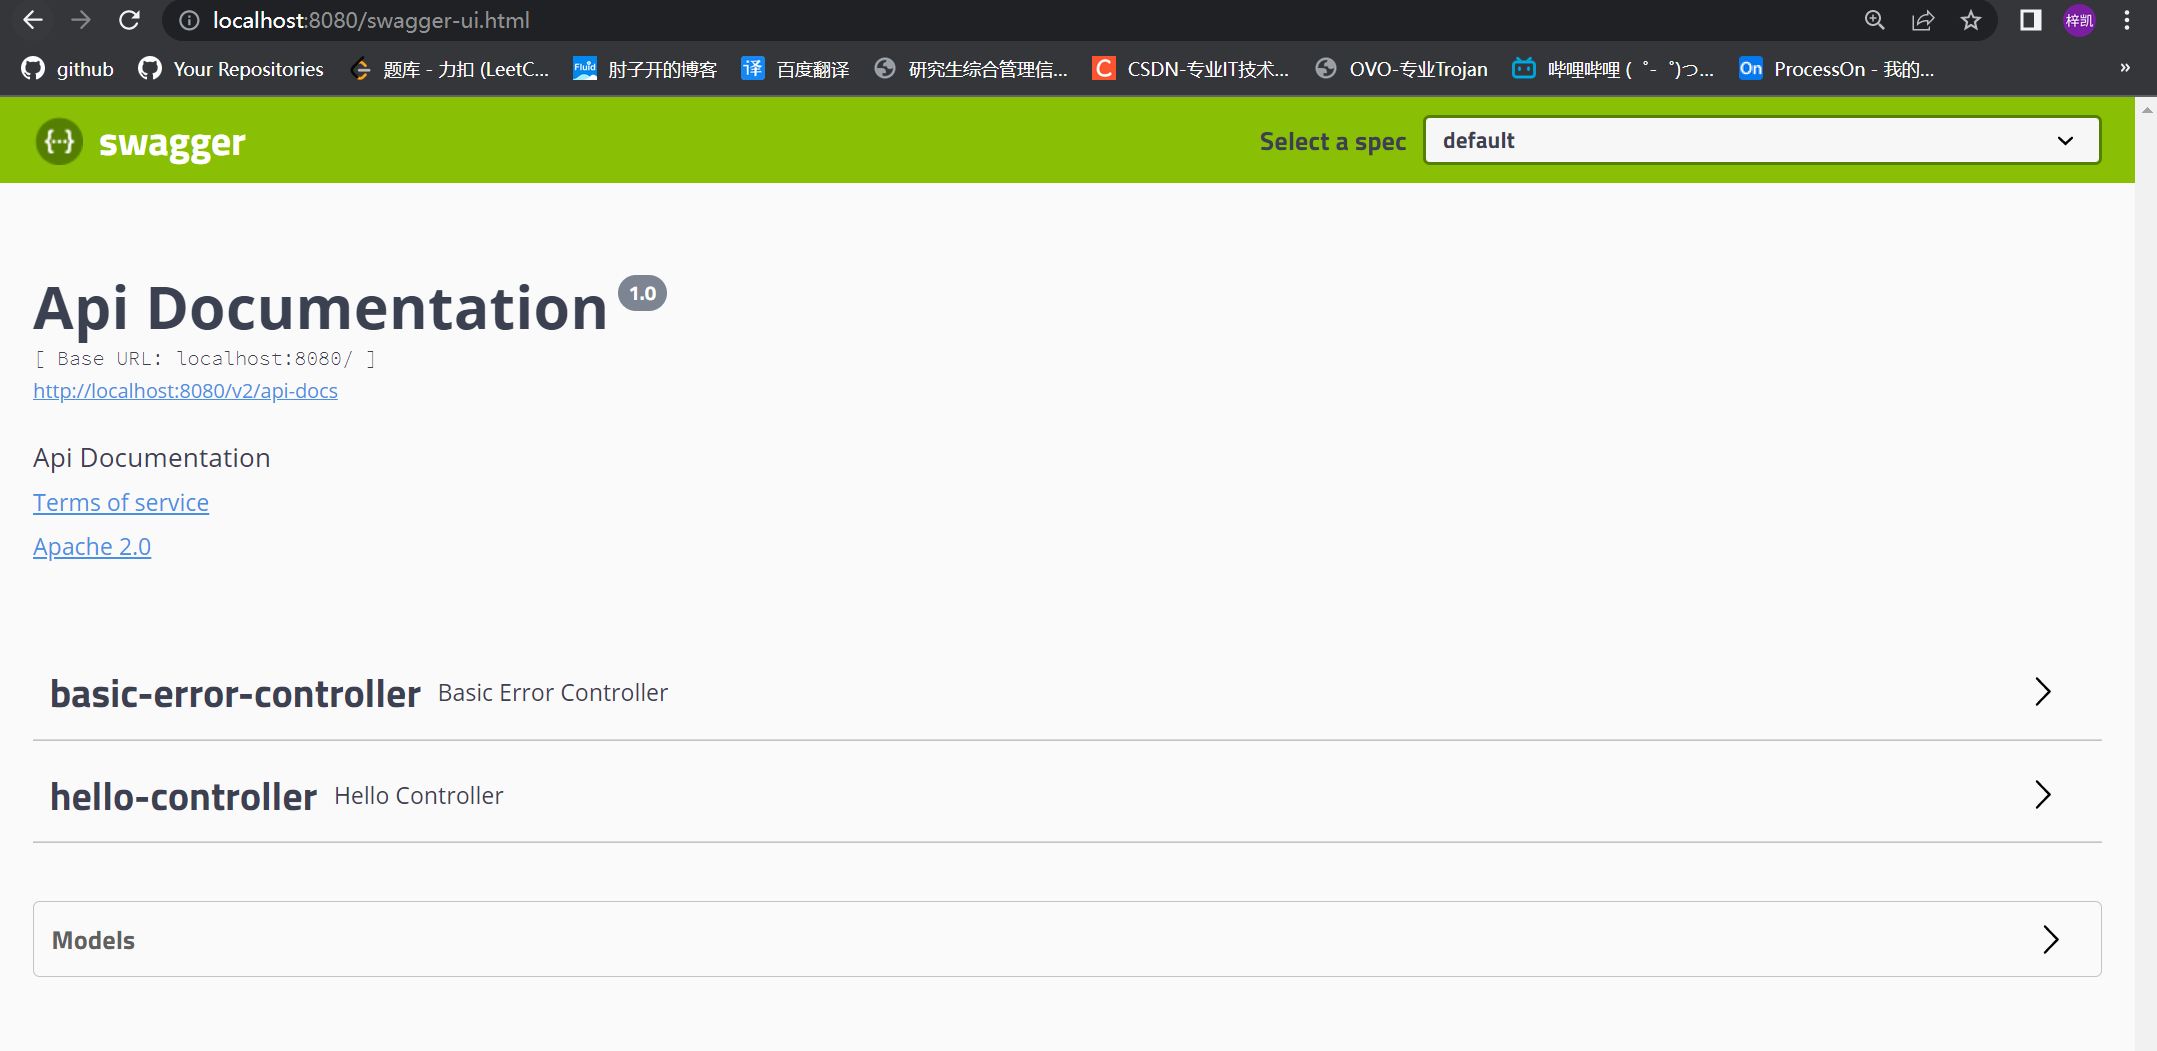
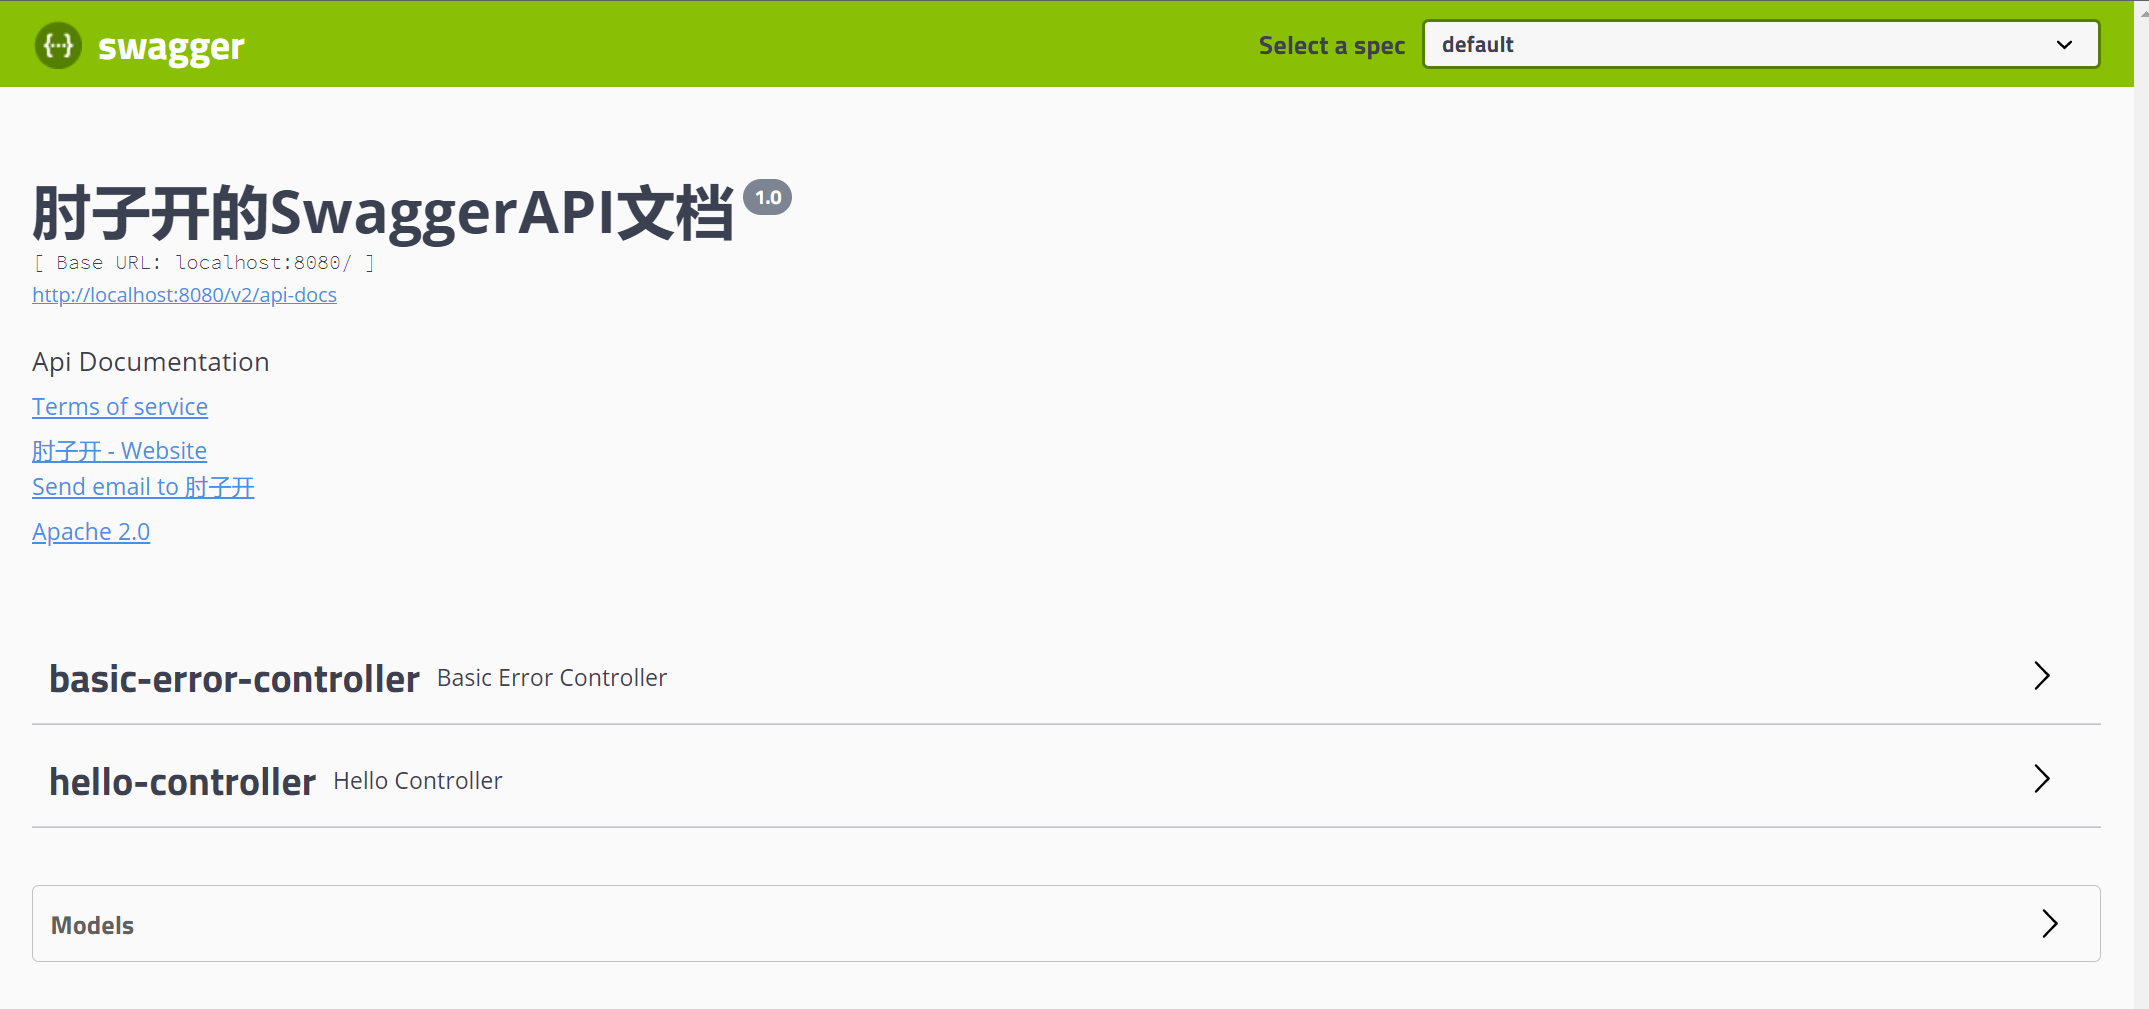
测试运行
- 输入
localhost:8080/swagger-ui.html
配置Swagger信息
1
2
3
4
5
6
7
8
9
10
11
12
13
14
15
16
17
18
19
20
21
22
|
@Bean
public Docket docket() {
return new Docket(DocumentationType.SWAGGER_2)
.apiInfo(apiInfo());
}
private ApiInfo apiInfo() {
Contact contact = new Contact("肘子开", "https://www.baidu.com", "13600004906");
return new ApiInfo("肘子开的SwaggerAPI文档",
"Api Documentation",
"1.0",
"urn:tos",
contact,
"Apache 2.0",
"http://www.apache.org/licenses/LICENSE-2.0",
new ArrayList());
}
|
配置扫描接口及开关
- 通过select()、apis()以及build()方法进行配置需要扫描的接口
1
2
3
4
5
6
7
8
9
10
11
12
13
14
15
16
17
|
@Bean
public Docket docket() {
return new Docket(DocumentationType.SWAGGER_2)
.apiInfo(apiInfo())
.select()
.apis(RequestHandlerSelectors.basePackage("com.example.swagger.controller"))
.build();
}
|
|
@Bean
public Docket docket() {
return new Docket(DocumentationType.SWAGGER_2)
.apiInfo(apiInfo())
.enable(false)
.select()
.apis(RequestHandlerSelectors.basePackage("com.example.swagger.controller"))
.build();
}
|
- 如果我们想要在开发环境中使用,但是在上线环境中不使用
- 首先会新建两个配置文件,分别为application-dev.properties和application-prod.properties,分别为开发环境和上线环境中的配置
- 之后对环境进行读取,判断是否为开发环境,再传给enable()
| @Bean
public Docket docket(Environment environment) {
Profiles profiles = Profiles.of("dev", "test");
boolean flag = environment.acceptsProfiles(profiles);
return new Docket(DocumentationType.SWAGGER_2)
.apiInfo(apiInfo())
.enable(flag)
.select()
.apis(RequestHandlerSelectors.basePackage("com.example.swagger.controller"))
.build();
}
|
- 在application.properties中配置
| spring.profiles.active=dev
|
- 在application-dev.properties中配置
- 在application-prod.properties中配置
配置api分组
1
2
3
4
5
6
7
8
9
10
11
12
13
14
15
16
17
18
19
20
21
22
23
24
25
26
27
28
29
30
| @Bean
public Docket docket1() {
return new Docket(DocumentationType.SWAGGER_2).groupName("A");
}
@Bean
public Docket docket2() {
return new Docket(DocumentationType.SWAGGER_2).groupName("B");
}
@Bean
public Docket docket3() {
return new Docket(DocumentationType.SWAGGER_2).groupName("C");
}
@Bean
public Docket docket(Environment environment) {
Profiles profiles = Profiles.of("dev", "test");
boolean flag = environment.acceptsProfiles(profiles);
return new Docket(DocumentationType.SWAGGER_2)
.apiInfo(apiInfo())
.enable(flag)
.groupName("肘子开")
.select()
.apis(RequestHandlerSelectors.basePackage("com.example.swagger.controller"))
.build();
}
|
- 新建实体类,其中api注解相当于是注释,能够在swagger中看到
| @ApiModel("用户实体类")
public class User {
@ApiModelProperty("用户名")
public String username;
@ApiModelProperty("密码")
public String password;
}
|
| @RestController
public class HelloController {
@ApiOperation("Hello控制方法")
@GetMapping("/hello2")
public String hello2(@ApiParam("用户名") String username) {
return "hello" + username;
}
}
|
异步任务
首先编写一个等待3秒钟回复请求的需求
| @Service
public class AsyncService {
public void hello() {
try{
Thread.sleep(3000);
} catch (InterruptedException e) {
e.printStackTrace();
}
System.out.println("数据正在处理。。。");
}
}
|
| @RestController
public class AsyncController {
@Autowired
AsyncService asyncService;
@RequestMapping("/hello")
public String hello() {
asyncService.hello();
return "ok";
}
}
|
这时候用户必须要等待3秒之后才可以收到回复的请求,这时候需要异步请求
| @Service
public class AsyncService {
@Async
public void hello() {
try{
Thread.sleep(3000);
} catch (InterruptedException e) {
e.printStackTrace();
}
System.out.println("数据正在处理。。。");
}
}
|
|
@EnableAsync
@SpringBootApplication
public class TestApplication {
public static void main(String[] args) {
SpringApplication.run(TestApplication.class, args);
}
}
|
邮件任务
| <dependency>
<groupId>org.springframework.boot</groupId>
<artifactId>spring-boot-starter-mail</artifactId>
</dependency>
|
| spring.mail.username=1735257086@qq.com
spring.mail.password=dzzmxmfwltrpcbid
spring.mail.host=smtp.qq.com
spring.mail.properties.mail.smtp.ssl.enable=true
|
1
2
3
4
5
6
7
8
9
10
11
12
13
14
15
16
17
18
19
20
21
22
23
24
25
26
27
28
29
30
31
32
33
34
35
36
37
38
39
40
| @SpringBootTest
class TestApplicationTests {
@Autowired
JavaMailSenderImpl mailSender;
@Test
void contextLoads() {
SimpleMailMessage mailMessage = new SimpleMailMessage();
mailMessage.setSubject("肘子开你好");
mailMessage.setText("谢谢你肘子开,太喜欢你啦");
mailMessage.setTo("1735257086@qq.com");
mailMessage.setFrom("1735257086@qq.com");
mailSender.send(mailMessage);
}
@Test
void contextLoads2() throws MessagingException {
MimeMessage mimeMessage = mailSender.createMimeMessage();
MimeMessageHelper helper = new MimeMessageHelper(mimeMessage, true);
helper.setSubject("肘子开你好");
helper.setText("<p style='color:red>邮件测试</p>", true);
helper.addAttachment("1.jpg", new File("D:\\1.jpg"));
helper.setTo("1735257086@qq.com");
helper.setFrom("1735257086@qq.com");
mailSender.send(mimeMessage);
}
}
|
定时任务
|
@EnableAsync
@EnableScheduling
@SpringBootApplication
public class TestApplication {
public static void main(String[] args) {
SpringApplication.run(TestApplication.class, args);
}
}
|
| @Service
public class ScheduledService {
@Scheduled(cron = "0 * * * * 0-7")
public void hello() {
System.out.println("你被执行了");
}
}
|
整合Redis
- 新建项目时需要在非关系型数据库(NoSQL)中勾选上Spring Data Redis
(Access+Driver)
分布式理论